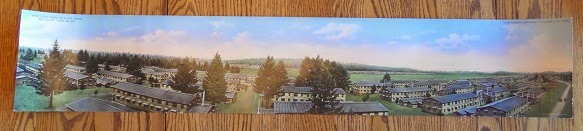
The last item I flattened is an old panorama poster circa 1920s-1930s. So like the previous photographs I flattened, it's long but this poster is on heavy paper.
This item is a little longer than the photograph from Part 3. Since my experience with the bathtub didn't work so well, I decided to stick with the "humidifying chamber" and drape the partially unrolled poster over the edges of the rack, like I did with the second picture in Part 3. This was a bit nerve wracking because the poster was just long enough that it might droop into the water at the bottom of the chamber. I decided to try it anyway.
The short version is that after only a short time, I discovered one edge in the water! Panic! I removed the poster and quickly got it between the sheets of blotting paper and weight it down. I prayed the poster wasn't ruined. It didn't look like it was when I pulled it out. As you can see, everything is OK. If you look closely, you can see a slight water line along the right hand side of the poster.
Other posts in this series:
Relaxing and Rehumidifying an Old Document - Part 1
Relaxing and Rehumidifying an Old Document - Part 2
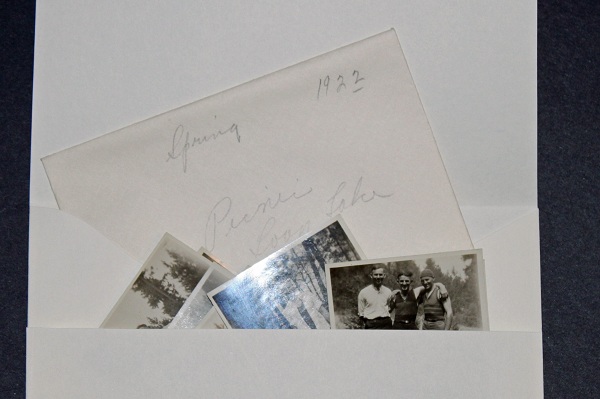
Relaxing and Rehumidifying Photographs - Part 3
URL for this post: http://turning-of-generations.blogspot.com/2014/06/relaxing-and-rehumidifying-old-poster.html
© 2014, copyright Michelle Goodrum